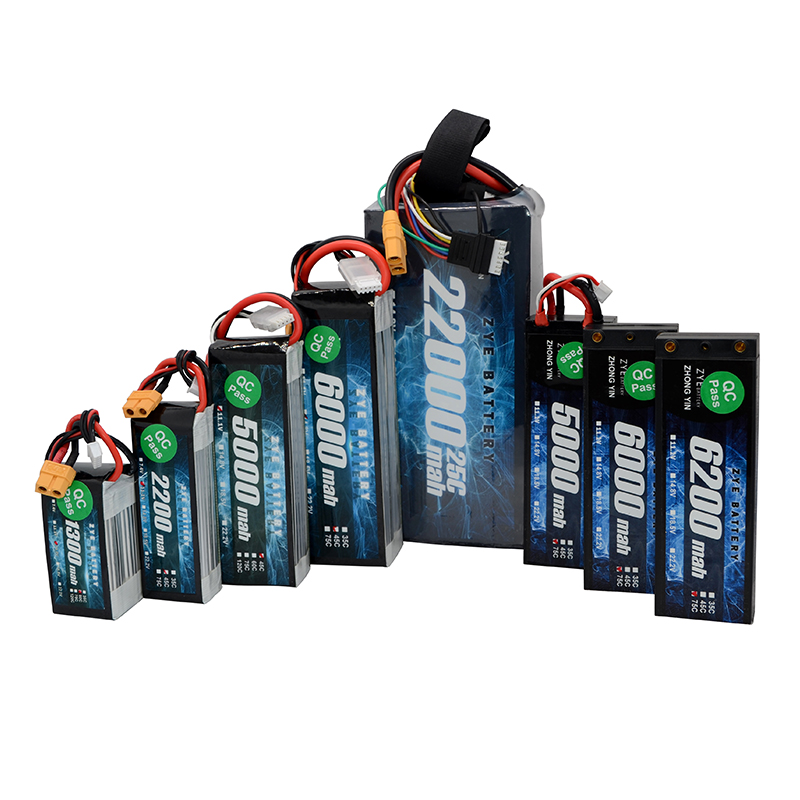
First Use Guide for Drone Batteries
2025-10-21
I. Basic Inspection: Eliminating Potential Battery Hazards
After unboxing for the first time, never charge or install the battery directly. First, confirm its condition through the three-step process of “Look, Feel, Check”—this is the first line of defense against safety incidents:
1. Visual Inspection: Check for Physical Damage
Carefully examine the battery casing for cracks, swelling, leakage, or broken wires.
Damage to the aluminum-plastic film casing of LiPo batteries can cause electrolyte leakage. Contact with air or metal may trigger short circuits. Swelling indicates internal chemical reactions (e.g., electrolyte decomposition producing gas), signaling imminent failure. Such batteries must never be used.
2. Pinch Test: Verify Cell Consistency
Gently pinch different areas of the battery with your fingers. A normal battery should feel firm and compact, with no soft spots or localized bulges.
If any section feels noticeably “soft and puffy,” it indicates potential gas buildup within that cell. Even without visible swelling, this may signal performance risks. Contact the seller for replacement.
3. Parameter Verification: Matching Drone Requirements
Ensure the battery's core specifications align with the drone manual's requirements. Focus on verifying three key points:
- Voltage (S Rating): The drone's motors and ESCs have strict voltage compatibility requirements. Mismatched voltage can prevent motor startup or burn out the ESC.
- Capacity (mAh): Capacity determines flight duration, but ensure the drone's battery compartment accommodates the corresponding battery size;
- Discharge Rate (C-rate): The discharge rate must meet the current demands during full-throttle flight (low-rate batteries may fail to provide sufficient power, potentially causing mid-flight power loss).
II. Charging Preparation: Select a Compatible Charger and Follow the “Initial Balance Charge” Principle
LiPo battery charging is the riskiest step. The first charge must strictly adhere to the three principles: “Compatibility, Balancing, Monitoring.” Never use non-dedicated chargers:
1. Verify Charger Compatibility
Use a balance charger compatible with LiPo batteries. Ensure the charger's “Charge Mode” and “Voltage Range” match the battery specifications:
- Select “LiPo Balance Charge” mode, which charges each cell simultaneously to prevent significant voltage differences;
- Set the voltage range according to the battery's cell count (S value). Never select the wrong range.
2. Connect charging ports: Battery first, then power source
LiPo batteries typically feature two ports: the main discharge port and the balance charging port. For the initial charge, both the balance port (core) and main discharge port must be connected simultaneously (some chargers require dual-port connection). Follow these steps:
1). Insert the charger's balance charging cable into the battery's balance port, ensuring the connector pins align with the battery's ports;
2). Insert the charger's main discharge plug into the battery's main discharge port;
3). Finally, connect the charger to household power. Avoid connecting the power before the battery — if the plug makes poor contact, connecting power first may cause an instantaneous short circuit.
3. Set charging parameters: Low-current slow charge to avoid aggressive activation
The first charge does not require “activating the battery.” Instead, use a low-current slow charge to protect the cells. We recommend setting the charging current to “0.5C of the battery capacity.”
Slow charging allows cell voltages to rise evenly, reducing heat generation and preventing cell damage from high currents during the first charge. Monitor the “cell voltage” displayed on the charger in real-time during charging. Each cell's voltage should rise synchronously, stabilizing at 4.2V upon full charge. If any cell exhibits abnormal voltage (e.g., exceeding 4.25V or falling below 4.1V), stop charging immediately and inspect the battery.
4. Charging Environment: Keep away from flammable materials; charge under supervision at all times
Place the battery and charger on a flame-retardant surface during charging, away from curtains, sofas, carpets, and other flammable items. Avoid charging in high-temperature or humid environments.
—LiPo batteries may catch fire if short-circuited or if a cell fails during charging. Having someone present at all times allows for immediate response to emergencies.
III. Installation Compatibility: Verify interfaces and power supply logic to prevent short circuits
After charging completes, confirm installation details before connecting to the drone to prevent interface mismatches or abnormal power supply:
1. Interface Compatibility: Replace connectors if necessary; never force connections
If the battery's main discharge connector does not match the drone's battery compartment interface, replace it with a compatible connector.
2. Secure Battery Mounting: Prevent in-flight movement to protect connectors
When installing the battery into the drone's compartment, use the provided Velcro straps, clips, or zip ties to secure it firmly.
Loose batteries may cause severe shaking during flight, leading to poor interface contact or even pulled wires causing short circuits. Also ensure correct battery orientation to prevent power failure from reverse installation.
3. Power-On Testing: Low-power check followed by normal flight
After installation, first turn on the drone's remote controller, then insert the battery to power the drone. Upon startup, perform the following checks:
- ESC Self-Test: Listen for the characteristic “beep-beep” sound from the motors during self-check
- Voltage Display: Verify normal battery voltage on the drone's video transmission screen or remote controller display
- Low-Power Test: Move the throttle stick to approximately 10% and observe whether the motors rotate smoothly (no stuttering or abnormal noises). Only proceed to hover testing after confirming normal power supply.
IV. Ongoing Maintenance: Establish a “First Use Record” to Lay the Foundation for Long-Term Safety
After initial use, document the battery's condition to cultivate consistent maintenance habits.
When storing batteries, place them in a fireproof box or sealed plastic container, away from high temperatures and metal objects.


