How to build a drone lipo battery pack?
LiPo cells are not like regular batteries: they’re sensitive to heat, overcharging, and physical damage. One misstep can lead to swelling, overheating, or even fire.
This step-by-step guide breaks down how to build a LiPo pack safely, with tips to ensure reliability and longevity—whether you’re a first-time builder or looking to refine your process.
DIY Guide: How to Build a Safe, Custom LiPo Battery Pack
Define Your Pack’s Specs
1. What Voltage Does Your Device Require?
LiPo cells have a nominal voltage of 3.7V (standard) or 3.8V (HV/LiHV cells). To get higher voltage, you connect cells in series (marked “S”).Check your device’s manual—e.g., a racing drone might need 14.8V (4S), while a small robot could run on 7.4V (2S).
2. How Much Capacity Do You Need?
Capacity (measured in mAh, milliamp-hours) determines runtime. A 5000mAh pack delivers 5A for 1 hour, or 2.5A for 2 hours. To increase capacity without changing voltage, connect cells in parallel (marked “P”).
3. What Size/Weight Constraints Do You Have?
LiPo cells come in standard sizes (e.g., 18650, 21700, or “pouch” cells). Pouch cells are thin and flexible (great for compact projects), while cylindrical cells (18650) are more durable (good for high-impact use like RC cars). Measure your device’s battery compartment to avoid building a pack that doesn’t fit!
Tools (Safety First!)
Temperature-Controlled Soldering Iron: Set to 350–380°C (660–715°F). Overheating cells destroys them.
Solder: 60/40 tin-lead (best conductivity) or lead-free (for eco-compliance). 0.8–1.2mm diameter works for small joints.
Wire Strippers/Cutters: Precision tools (not scissors!) to avoid nicking wires (nicks cause shorts).
Multimeter: To test voltage, continuity, and cell balance.
Safety Gear: Fireproof work mat/charging bag, heat-resistant gloves, safety glasses, and a Class D fire extinguisher (or sand bucket—never use water on LiPo fires).
Cell Holder (Optional): Keeps cells aligned while soldering (prevents shifting).
A damaged or mismatched cell will ruin your pack—spend 5 minutes here to avoid disasters:
Check for Physical Damage, test Cell Voltages, match Capacity (For Parallel Packs).
Solder Cells
Key Soldering Tips
Work Fast: Keep the iron on cell terminals for no more than 2 seconds. Any longer and you’ll cook the cell.
Tin Terminals First: Add a small amount of solder to the cell’s terminal before attaching wires (this reduces heat time).
Avoid Bridging: Don’t let solder connect two terminals (this = short circuit). Wipe excess solder with a damp sponge.
Attach the Balance Lead
The balance lead is critical—it ensures each cell charges evenly. Without it, one cell might overcharge while others stay undercharged.
Prepare the Balance Lead:
Strip 1/8 inch of insulation from each wire in the JST-XH connector.
Solder the Balance Lead:
For a 3S pack: Solder black to Cell 1’s negative, white to Cell 1/2’s joint, yellow to Cell 2/3’s joint, and red to Cell 3’s positive.
Hold the wire against the terminal, touch the iron briefly (2 seconds max), and add a tiny amount of solder.
Secure the Lead: Tape the balance lead to the pack (away from the main connector) to prevent it from getting pulled.
Attach the Main Power Connector
The main connector delivers power to your device—make sure it’s strong enough for your project’s current needs.
Insulate the Entire Pack
Insulation protects the pack from short circuits and physical damage.
Test the Pack
Never plug an untested pack into your device—this step ensures it’s safe and functional.
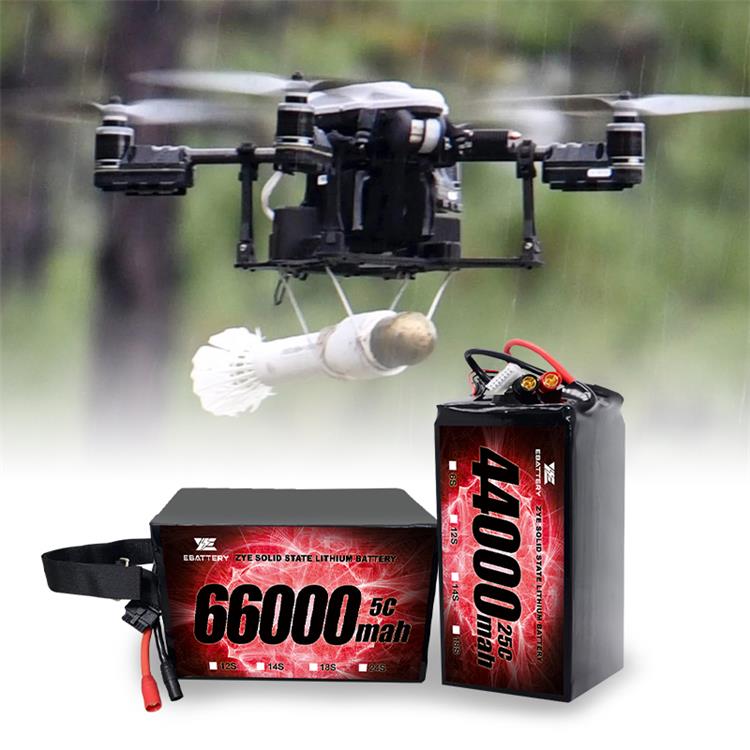
LiPo batteries are powerful—but safe when handled correctly. Print these rules and keep them nearby:
No Damaged Cells: Never use swollen, punctured, or leaking cells. Dispose of them at a lithium battery recycling center (not the trash).
No Overheating: Keep the soldering iron away from cell bodies—only touch terminals. If a cell feels hot (over 45°C/113°F), stop working.
No Unattended Charging: Always charge the pack in a fireproof bag, and never leave it alone while charging.
Label the Pack: Mark it with voltage (e.g., “3S 11.1V”), capacity, and type (standard/HV) to avoid accidental misuse.
Store Properly: When not in use, store the pack at 3.8V per cell (use your charger’s “Storage Mode”). This prevents cell degradation.
Conclusion
Building a custom LiPo pack is a great way to get exactly what your project needs—but safety and precision are non-negotiable. Start with a simple pack (like 2S1P) if you’re new, and practice soldering on old cells first.Have questions about cell selection, connectors, or troubleshooting? We’re here to help you build a safe, reliable LiPo pack that lasts!
If you have any questions about battery care or are looking for high quality lipo battery solutions, please feel free to contact us at coco@zyepower.com. We're here to help you power your projects safely and efficiently.


